
E-Bike Pedal Replacement might seem like a minor change, but it can have a significant impact on your riding experience. Whether you’re looking for better grip, increased comfort, or enhanced performance, the right pedals can make all the difference. In this guide, we’ll walk you through everything you need to know about E-Bike Pedal Replacement, from choosing the best pedals to a step-by-step installation process. We’ll also cover maintenance tips to ensure your pedals last longer and perform optimally.
Table of Contents
Table of Contents
Why Replace or Upgrade Your E-Bike Pedals?
Your e-bike pedals are essential for power transfer, control, and comfort. Over time, stock pedals wear out or may not provide the best performance. Here’s why you might consider an E-Bike Pedal Upgrade:
- Worn-out pedals: If your current pedals are slippery or damaged, it’s time for a change.
- Better grip and traction: High-quality pedals offer more stability, especially in wet conditions.
- Comfort improvement: Comfortable e-bike pedals reduce foot fatigue on long rides.
- Increased efficiency: The right performance e-bike pedals help you pedal more smoothly and effectively.
- Customization: Upgrading allows you to choose pedals that match your riding style and preferences.
- Durability: High-end pedals are built to withstand heavy use and tough terrains.
Choosing the Best Pedals for Your E-Bike
Not all pedals are created equal. Here are key factors to consider when selecting the best pedals for an e-bike:

Flat Pedals vs. Clipless Pedals
- Flat Pedals: Ideal for beginners, casual riders, and those who want easy foot placement. They provide a stable platform and work with any shoes.
- Clipless Pedals: Designed for performance, these pedals allow you to clip in with special cycling shoes for better power transfer. They help prevent foot slippage and enhance pedaling efficiency.
Pedal Grip and Traction
For a safe and comfortable ride, choose pedals with a non-slip surface or pins to prevent your feet from slipping, especially on rough terrain. More grip translates to better control, especially during wet or off-road conditions.
Pedal Materials: Aluminum, Composite, and More
- Aluminum: Durable and strong but slightly heavier. Preferred by aggressive riders and those tackling rugged terrains.
- Composite (Plastic or Nylon): Lightweight and affordable but may wear out faster. Best for casual riders and urban commuting.
- Magnesium: Lighter than aluminum but still strong, offering a balance between weight and durability.
Pedal Size and Fit
Pedals come in different sizes. Larger pedals offer better foot support, while compact pedals may be ideal for riders who prioritize agility. If you have larger feet, opt for a wider pedal to distribute pressure evenly.
Cycling Footwear Compatibility
If you use special cycling shoes, ensure they are compatible with your chosen pedal type. Clipless pedals require cleat-compatible shoes, while flat pedals work with any footwear.
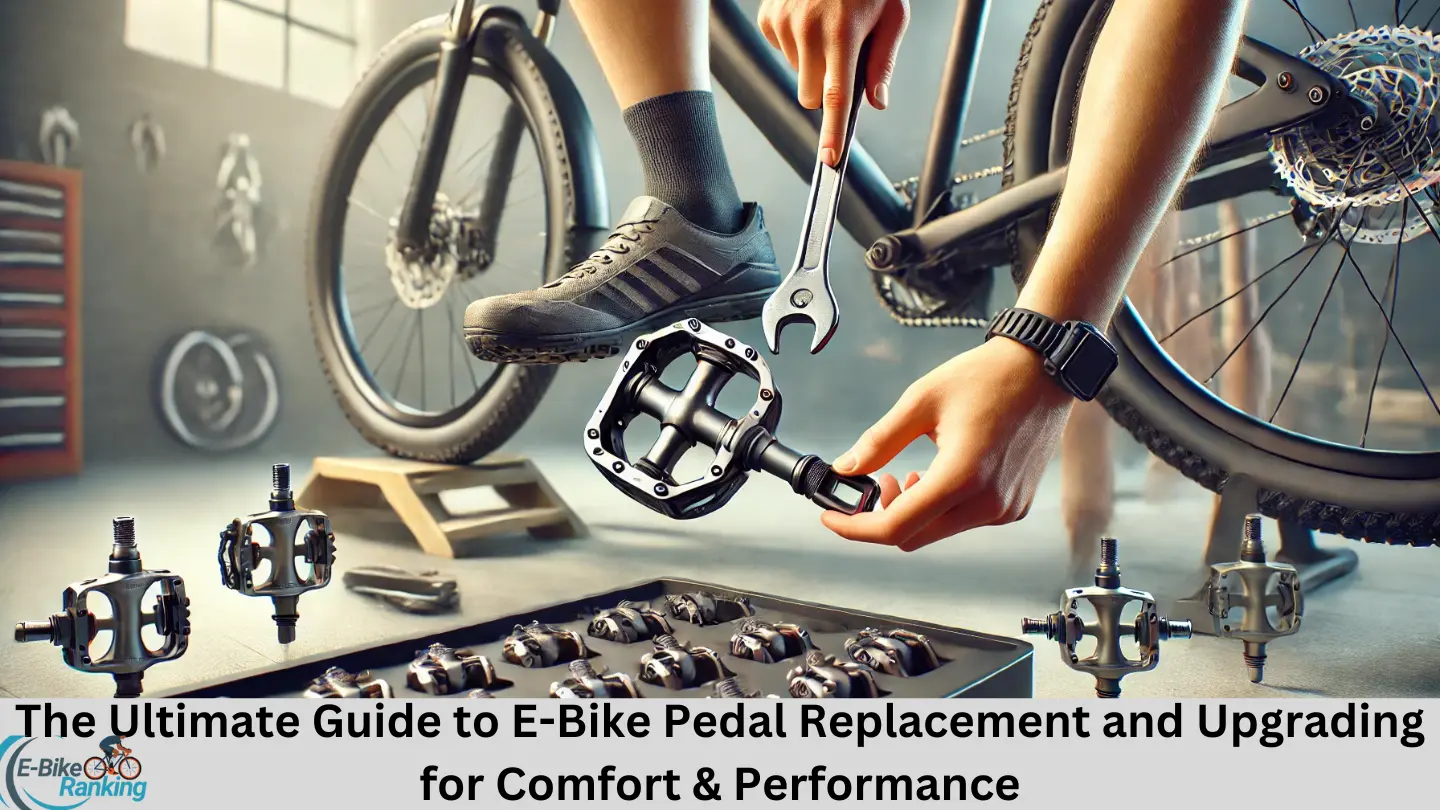
Step-by-Step Guide: E-Bike Pedal Replacement

1. Gather Your Tools
Before you start the e-bike pedal replacement, you’ll need:
- A 15mm wrench or Allen key (depending on your pedals)
- Grease or anti-seize compound
- A clean cloth
- A work stand or stable surface to hold your bike steady
2. Remove Old Pedals (E-Bike Pedal Removal)
- Identify Left and Right Pedals: The right pedal (R) tightens clockwise, while the left pedal (L) tightens counterclockwise.
- Loosen the Pedals: Use your wrench or Allen key to turn the pedal spindle in the correct direction. The left pedal loosens clockwise, and the right pedal loosens counterclockwise.
- Remove Carefully: Unscrew the pedals fully and clean the crank arm threads. Removing dirt and old grease prevents damage when installing new pedals.
- Inspect the Threads: Before proceeding, check for any damage or wear on the crank arm threads. If there is excessive wear, you may need a thread repair kit.
3. Installing New E-Bike Pedals
- Apply Grease: Coat the pedal threads with grease to prevent seizing and make future removals easier.
- Thread the Pedals In: Start by hand-tightening each pedal into the crank arm. Ensure they are going in straight to avoid cross-threading.
- Secure with a Wrench: Use a wrench to tighten the pedals, ensuring they are firm but not overtightened. Over-tightening can damage the crank arm.
- Test the Pedals: Rotate the pedals to ensure smooth movement and verify that they are securely fastened.
Additional Considerations for E-Bike Pedal Replacement
If you are upgrading your pedals, you might also consider:
- Pedal Spindle Material: Titanium spindles offer a lightweight option for riders looking to reduce bike weight.
- Adjustable Pins: Some flat pedals allow you to customize pin placement for enhanced grip.
- Hybrid Pedals: These offer one side with a flat platform and the other side as a clip-in option for versatility.
Tips for Maintaining Your E-Bike Pedals
- Clean Regularly: Wipe off dirt and debris to maintain smooth function. Pedals accumulate grime, which can affect performance.
- Lubricate Bearings: Periodically grease the bearings for longevity. Dry bearings can cause a rough, creaky feel.
- Check for Wear: Inspect your pedals for any damage or wear that might affect performance. If pins are worn out or missing, replace them.
- Tighten Periodically: Check pedal tightness every few months to prevent loosening while riding.
Final Thoughts
Replacing and upgrading your e-bike pedals is a simple yet effective way to improve comfort and performance. By choosing the right comfortable e-bike pedals, maintaining them properly, and installing them correctly, you can enhance your riding experience. Whether you prefer flat pedals vs. clipless pedals, prioritize pedal grip and traction, or look for lightweight e-bike pedals, there’s an option suited for your needs.
Investing in quality pedals not only enhances comfort but also contributes to a safer and more efficient ride. Now that you know how to replace e-bike pedals, why not give it a try? A well-chosen set of pedals can transform the way you ride.
Happy cycling! 🚴♂️


