

If your e-bike’s brakes fail, lights dim, or the battery drains quickly, a faulty wiring harness might be the cause. This guide makes fixing your e-bike’s wiring harness easy. You’ll learn how to troubleshoot and fix common problems like frayed wires and loose connectors.
Key Takeaways
- Diagnose issues like power loss using wiring harness troubleshooting methods.
- Use basic tools for DIY e-bike repair without specialized equipment.
- Extend your e-bike’s lifespan through proper electrical system maintenance.
- Decide when to repair vs. replace your wiring harness based on damage severity.
- Follow safety protocols from start to finish during wiring harness work.
Understanding E-Bike Wiring Harnesses and Common Issues
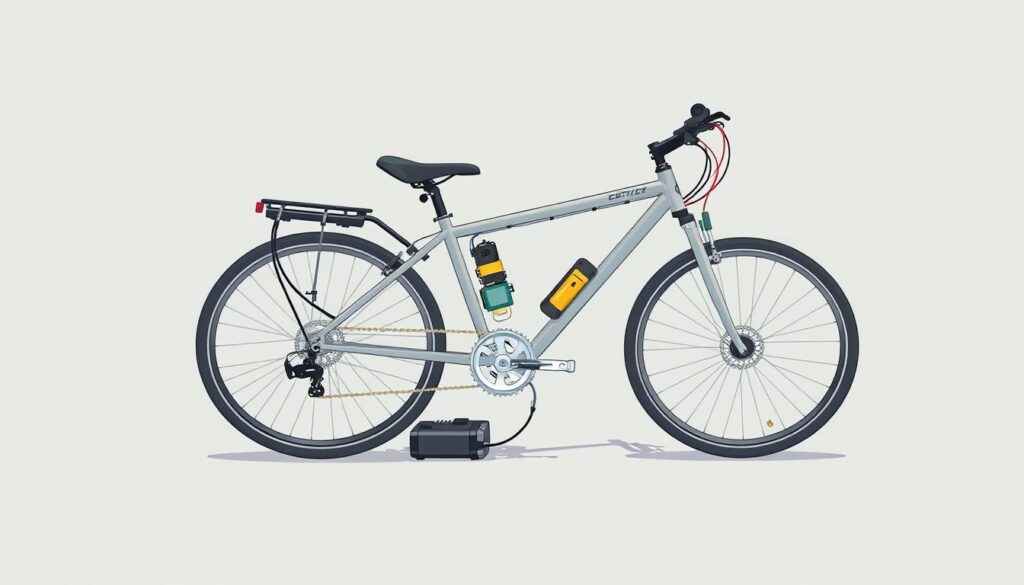
Every e-bike needs its e-bike wiring system to work right. This system, or wiring harness, carries power from the battery to the motor and more. If it fails, even small problems can mess up your ride. Let’s explore how these systems operate and what to do when issues pop up.
What is an E-Bike Wiring Harness?
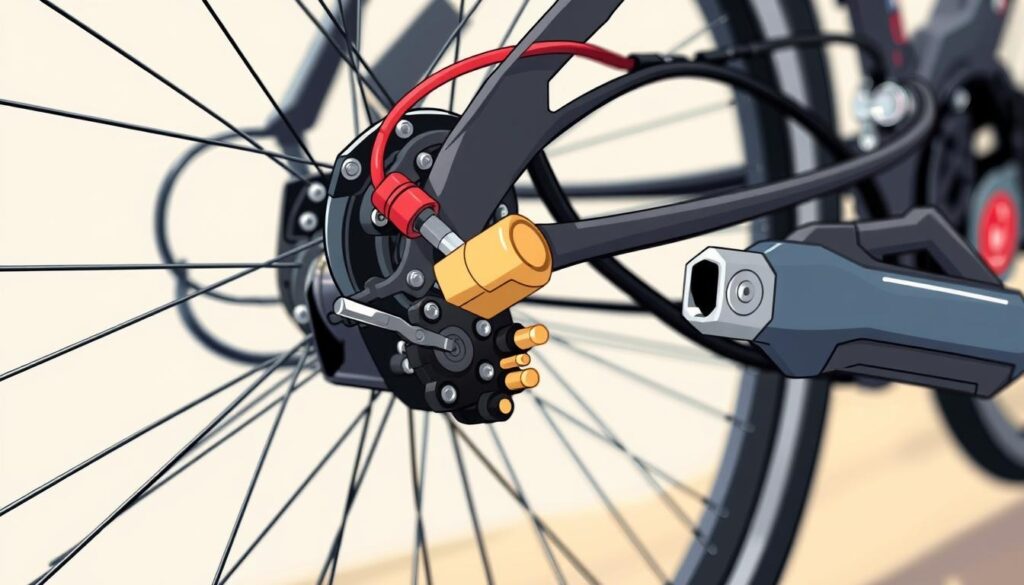
A wiring harness is more than one wire—it’s a group of wiring harness components together. It’s like the bike’s nervous system. Wires send power, sensors send data, and connectors link everything. Modern e-bikes use special cables and connectors to keep out water and shock.
Important parts include the main power cable, throttle wiring, and brake sensors.
Signs of a Faulty Wiring Harness
- Intermittent power delivery or sudden power cuts
- Dashboard errors like “system malfunction” alerts
- Motor stuttering or unexpected disengagement
- Battery drain accelerating faster than usual
“Over 40% of reported e-bike malfunctions involve wiring failure symptoms,” states ebikeranking’s 2023 repair analysis. “Regular inspections can prevent costly repairs.”
Most Common Failure Points
Wiring problems often happen where wires bend a lot, like near the handlebars. Look out for corrosion at battery terminals and frayed insulation at connectors. Moisture can also cause short circuits in exposed electrical connections. Always check these areas after a long ride.
Essential Tools and Safety Precautions
Before you start fixing your e-bike, make sure you have the right e-bike repair tools. A wiring harness repair kit makes repairs easier. And don’t forget a multimeter for e-bikes for accurate checks. Check out ebikeranking for the best tools and kits.
Here are some must-have tools:
- Wire strippers and crimpers for precise connections
- Soldering iron with lead-free solder for secure joints
- Heat shrink tubing and electrical tape for insulation
- A quality multimeter for e-bikes to test continuity
- Anti-static mats to protect components
Electrical safety is crucial. Always disconnect the battery and let it fully discharge. Work on an anti-static mat to prevent static damage. Wear safety goggles when soldering and keep the area well-ventilated. Never forget to ground wires to avoid short circuits.
Use the wiring harness repair kit to fix damaged wires or corroded connectors. Follow ebikeranking for the right crimping and heat shrink methods. Always test your connections with your multimeter for e-bikes before putting everything back together.
How to Diagnose Problems in Your E-Bike Wiring Harness
Learning e-bike electrical troubleshooting is all about being systematic. This part explains how to spot and fix wiring problems early on.
Visual Inspection Techniques
First, check the whole e-bike wiring harness. Look for:
- Frayed or cut wires near moving parts
- Melted insulation near battery or motor areas
- Pinched wires at frame mounts or handlebars
Using a Multimeter for Continuity Testing
Check wire health with a multimeter in 3 easy steps:
| Step | Action |
|---|---|
| 1 | Set multimeter to continuity mode (symbol: Ω) |
| 2 | Touch probes to each wire end; listen for a beep (good connection) |
| 3 | Record unresponsive wires for further analysis |
Checking Connection Points
Do a connection inspection on all connectors. Clean with a toothbrush and isopropyl alcohol. Make sure pins are in place and test with a battery-powered LED to see if power flows.
Isolating the Problem Area
Use wiring diagnostics to find the exact issue:
1. Disconnect parts one at a time
2. Test each part with the multimeter
3. Only replace damaged parts, not the whole harness
Pro tip: Always start with the simplest fixes first—loose connectors cause 60% of e-bike electrical issues (source: Pedelec Repair Guide 2023)
How to Repair E-Bike Wiring Harness: Step-by-Step Guide
Follow these steps to fix common wiring issues safely. Always disconnect power before starting.
Repairing Loose Connections
Fixing loose connections is crucial. Use a Ryobi crimping tool for terminal ends. Here’s how:
- Clean terminals with a wire brush.
- Crimp connectors firmly; test with pliers.
- Reattach and test with a multimeter for continuity.
Fixing Damaged Wire Insulation
Exposed wires need protection. Choose materials based on damage severity:
- Small cuts: Wrap with 3M Scotch Electrical Tape.
- Large tears: Use 1.5” heat shrink tubing (150°C rating).
- Exposed strands: Apply liquid electrical tape for flexible coating.
Splicing and Soldering Broken Wires
For harness wire splicing, master these wire soldering techniques:
1. Strip ½” of insulation from each wire end.
2. Twist bare strands together using a Western Union splice.
3. Apply 60/40 rosin-core solder with a 30W iron. Avoid overheating.
Waterproofing Your Repairs
Protect repairs from moisture with these waterproof wire repair methods:
| Material | Use Case |
|---|---|
| Marine-grade heat shrink | Exposed splices in chainstay areas |
| Dielectric grease | Between terminal connectors |
| Polyurethane tape | Wire bundles near pedals |
Follow ebikeranking’s guide for optimal material selection.
Complete Wiring Harness Replacement Guide
When e-bike wiring harness replacement is needed, safety and compatibility are key. First, check if your system is beyond repair or needs an electrical upgrade. This guide will help you choose and install the right harness.
When to Replace Instead of Repair
- Visible corrosion or frayed wires across 50%+ of the harness
- Outdated wiring incompatible with new batteries/motors
- Recurring faults after multiple localized repairs
Choosing the Right Replacement Harness
| Aspect | OEM | Aftermarket |
|---|---|---|
| Compatibility | Exact model match | Universal fits |
| Cost | Higher upfront | Budget-friendly |
| Customization | Standard specs | Modular options |
Compare OEM vs aftermarket harness options. Look at ebikeranking reviews for top brands like EnerZip or X-BikeTech.
Removal of the Old Harness
Use these steps before disposal:
- Photograph connections before disconnecting
- Label all connectors with numbered tags
- Unplug components in reverse assembly order
Installation and Routing Techniques
Follow proper wire routing best practices:
- Route wires through factory channels to avoid frame abrasion
- Secure every 6-8 inches with UV-resistant zip ties
- Keep 2 inches away from motor heat sources
Test power segments incrementally using the multimeter method from Section 4.
Testing Your Repair or Replacement Work
Before you hit the trails, e-bike electrical testing is key to ensure your e-bike wiring harness is perfect. Start by using a multimeter for wiring harness validation. Check for continuity and resistance. If readings are under 1 ohm, you’re good to go. But if they’re higher, it’s time for electrical troubleshooting again.
- First, test without battery power: disconnect the battery and check for shorts or breaks in each circuit.
- Then, reconnect the battery and turn it on slowly. Watch for error codes or flickering lights, which mean loose connections.
- Finally, test the throttle, pedal assist, and brake cutoffs in a safe area before you ride.
Next, do real-world tests: ride on different terrains to check for power drops. Watch the display screens and lights during acceleration and braking. If problems come up, use this quick fix guide:
- Flashing lights? Check the battery terminals.
- Weak assist? Inspect the motor connection wiring.
- Odd noises? Look for loose throttle wiring.
Lastly, let the e-bike run for 15 minutes. Check for unusual heat, which could mean poor solder joints. Keep this electrical troubleshooting guide handy until you’re sure everything works right.
Skipping e-bike electrical testing can lead to mid-ride failures. Take your time—it’s crucial for your safety. Every click and hum during testing is important.
Conclusion: Ensuring Long-Term Reliability of Your E-Bike Electrical System
Regular upkeep keeps your e-bike’s electrical system reliable. Stick to an e-bike maintenance schedule to catch issues early. Preventing wiring damage starts with protective steps like dielectric grease and weatherproofing.
In humid areas, apply wiring harness protection with seals. Store the bike indoors, battery disconnected, to avoid corrosion. Watch for signs like dimming lights—act fast.
These steps boost electrical system longevity. Resources like EbikeRanking offer guides to keep your system safe. Small efforts now mean fewer headaches later and more joy on every ride.
FAQ
What is an e-bike wiring harness?
An e-bike wiring harness is a group of electrical wires. It connects the bike’s battery, motor, controller, and display. It’s the main path for electrical signals and power.
How do I know if my e-bike wiring harness is faulty?
Signs of a bad wiring harness include power loss, flickering displays, and motor cutouts. You might also hear unusual noises or smell burning plastic. If you see these signs, check the wiring for damage or loose connections.
What tools do I need for repairing my e-bike wiring harness?
You’ll need wire strippers, crimpers, a soldering iron, and heat shrink tubing. Also, electrical tape, a multimeter, and connector kits are essential. A magnifying work lamp helps with detailed work.
When should I decide to replace my e-bike wiring harness instead of repairing it?
Replace the harness if it’s corroded, has many failure points, or is outdated. If repairs keep failing, a new harness might be better.
How can I test my e-bike wiring harness after repairs?
Use a multimeter to test continuity and resistance. This ensures all circuits work right. Then, test each system’s power to make sure everything’s good.
What safety precautions should I take when working on my e-bike wiring harness?
Always disconnect the battery first. Wear eye protection when soldering and work in a well-ventilated area. Keep a fire extinguisher nearby. Ground yourself to avoid damaging components with static.
Can I use a universal wiring harness for my e-bike?
Yes, but check if it fits your bike’s components. OEM harnesses are usually best for better fit and reliability.
How often should I inspect my e-bike wiring harness?
Inspect your wiring harness monthly, especially if you ride in harsh conditions. Look for wear, corrosion, or disconnections that could cause problems.


