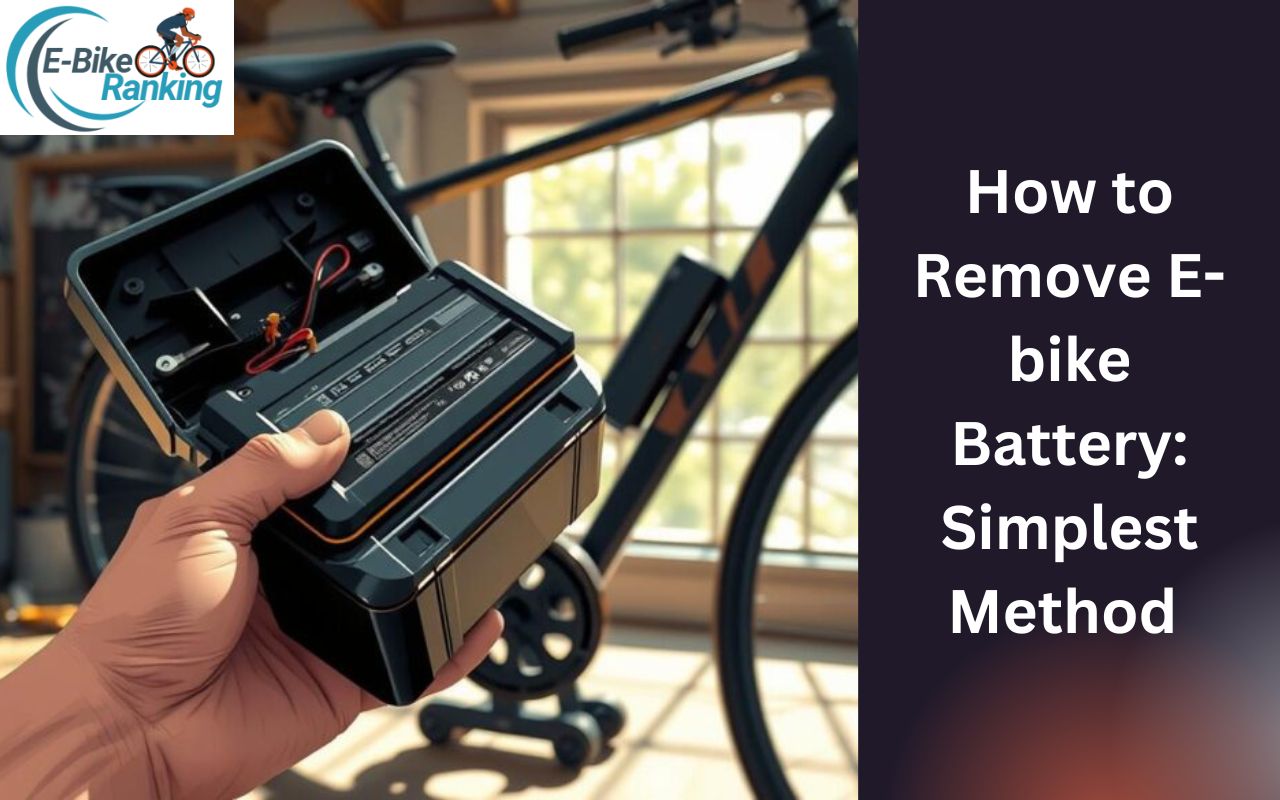

Removing an e-bike battery might seem hard, but it’s easier than you think. If you want to learn how to do it, you’re in the right spot. This guide will show you the simplest way to remove your e-bike battery. It’s important for replacing, storing, or maintaining your e-bike.
Introduction to E-bike Battery Removal
Knowing how to remove your e-bike battery is key for any owner. By following our steps, you can do it safely and right. We’ll teach you the easiest way to remove your battery, so you can do it with ease.
Table of Contents
Key Takeaways
- Learn how to remove e-bike battery safely and efficiently
- Understand the importance of proper battery removal
- Discover the simplest method to remove your e-bike battery
- Get step-by-step instructions for e-bike battery removal
- Learn how to replace, store, or perform maintenance on your e-bike battery
- Gain confidence in removing your e-bike battery with our guide
Understanding Your E-bike Battery System
Knowing how your ebike battery works is key to keeping it in top shape. This knowledge makes it easier to take out and put back your battery. The ebike battery system is complex, so paying close attention is important for safety and efficiency.
First, learn about the different ebike batteries. You’ll find lead-acid, nickel-cadmium (NiCd), nickel-metal hydride (NiMH), and lithium-ion (Li-ion) batteries. Each has its own strengths and weaknesses. Knowing what your ebike uses helps you meet its specific needs.
Key Components of E-bike Batteries
- Battery management system (BMS)
- Cells
- Connectors
Ebike batteries can be placed in several spots, like the frame, rear rack, or built into the frame. Knowing where yours is will guide you on how to remove it. By grasping these components and mounting options, you’ll feel more confident handling your ebike battery.
Essential Safety Precautions Before Battery Removal
Removing your e-bike battery requires top safety. As an ebikerangking enthusiast, you must take precautions to avoid risks. Wear gloves and safety glasses to protect against sharp edges and electrical shock.
Make sure your e-bike is off and the battery isn’t charging. Work in a well-ventilated area and have a fire extinguisher nearby. These steps help prevent accidents and ensure a safe work area. Here are more safety tips to remember:
- Work in a well-lit area to avoid visibility issues.
- Use a non-conductive surface to prevent electrical shock.
- Avoid loose clothing that could get caught in the e-bike’s mechanisms.
Remember, safety is crucial when working with electrical components. By being careful and aware of your surroundings, you can safely remove your e-bike battery. Always check your e-bike’s manual for specific instructions. If unsure, consider getting help from a professional.
Required Tools and Materials
Learning how to remove an e-bike battery needs the right tools and materials. It’s important to have everything ready before starting. This saves time and prevents damage to the e-bike.
Basic tools like Allen wrenches, screwdrivers, and pliers are essential. The tools needed might change based on the e-bike battery type. For example, some e-bikes need a specific Allen wrench size.
Basic Tools Needed
- Allen wrenches (various sizes)
- Screwdrivers (flathead and Phillips)
- Pliers (needle-nose and slip-joint)
Optional Equipment
A work stand is optional but helpful. It makes removing the e-bike battery easier. It provides a stable platform for better access to the battery.
Protective Gear Recommendations
Wearing gloves and safety glasses is a must. They protect against electrical shocks and sharp edges.
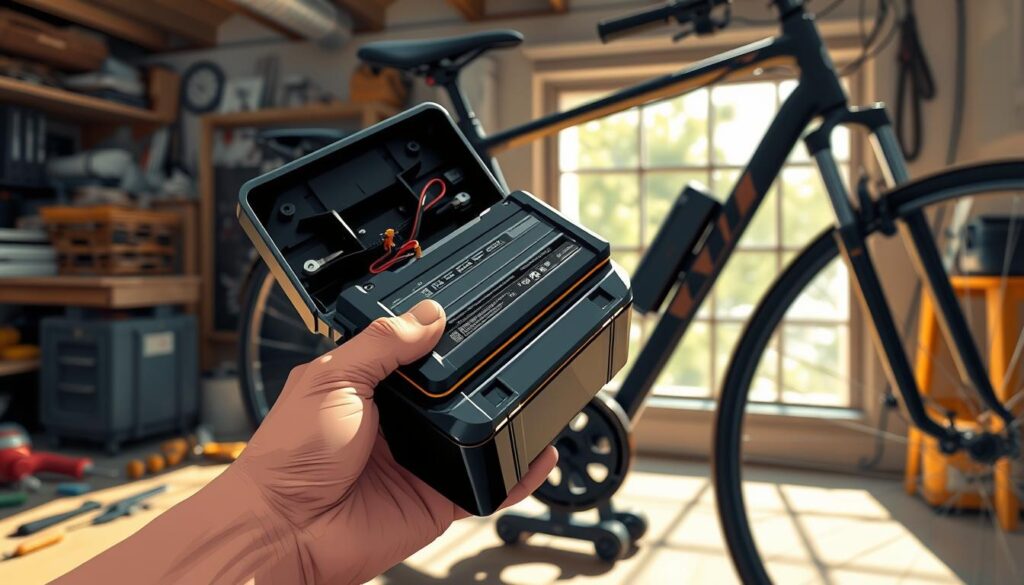
How to Remove E-bike Battery: Step-by-Step Process
To remove the battery from your ebike, start by turning off the bike. Make sure the battery is not charging. This is a crucial safety precaution to prevent any accidents or injuries.
Next, locate the battery and its mounting mechanism. You may need to remove screws, bolts, or clips to access the battery. Be careful not to damage any wires or connectors during this process.
Here are the general steps to follow:
- Turn off your ebike and ensure the battery is not charging
- Locate the battery and its mounting mechanism
- Remove any screws, bolts, or clips to access the battery
- Gently pull the battery out of its mounting, taking care not to damage any wires or connectors
Remember to always handle the battery with care, as it can be heavy and fragile. If you are unsure about any part of the process, consider consulting your ebike’s user manual or seeking help from a professional.
Common Challenges During Battery Removal
Removing an e-bike battery can be tricky. Several challenges may pop up, making the process frustrating. But, knowing what causes these issues and how to fix them is key. As an ebikerangking fan, being ready for these problems is crucial for a smooth battery removal.
Common problems include stuck batteries, weather issues, and connection problems. To tackle these, having the right tools and knowledge is essential. For stuck batteries, a bit of lubricant or a rubber mallet can help. Weather issues, like extreme temperatures or moisture, can be managed by working in a dry, well-ventilated area and protecting electrical parts.
- Apply lubricant to stuck batteries
- Use a rubber mallet to gently tap the battery loose
- Work in a dry, well-ventilated area to avoid weather-related issues
- Use protective coatings on electrical components
By knowing these challenges and having the right solutions, ebikerangking fans can make battery removal easier. This makes it simpler to keep and upgrade their e-bikes.
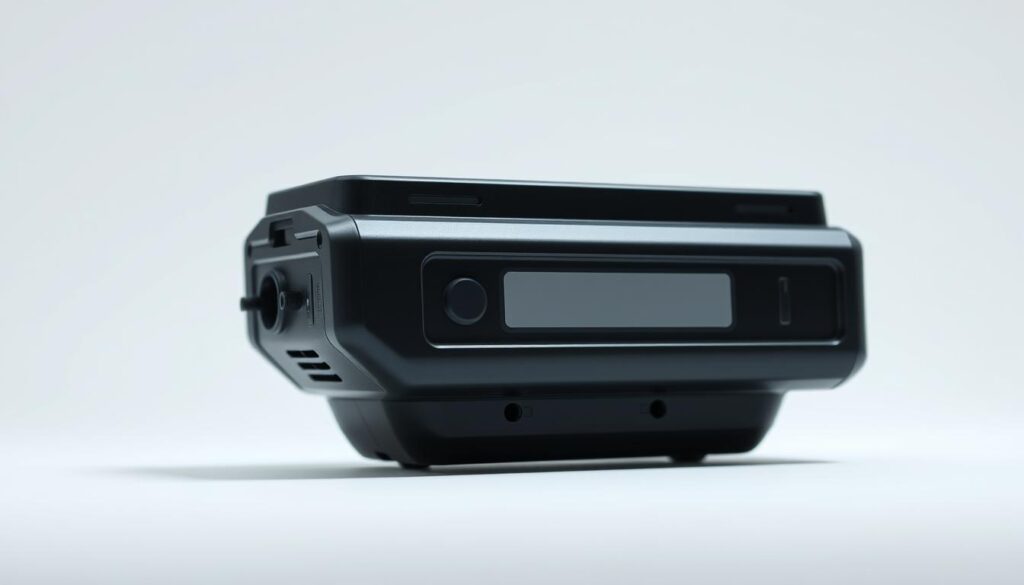
Proper Battery Storage and Maintenance
Learning how to remove your e-bike battery is just the start. It’s also key to store and maintain it right to make it last longer. Keep the battery in a cool, dry spot, away from sunlight and moisture. Don’t let it fully drain, as this can harm it. Instead, store it with a bit of charge left.
Regular care is crucial for your e-bike battery’s life. Check it for wear, clean the terminals, and make sure connections are tight. These easy steps can help your battery last longer and work better when you need to take it out for upkeep or a new one.
Here are some important tips for storing and maintaining your battery:
- Store the battery in a cool, dry place
- Avoid fully discharging the battery
- Check the battery for signs of wear
- Clean the terminals and ensure secure connections
By following these tips and knowing how to remove your e-bike battery, you can keep your ride running smoothly. Always handle the battery with care and follow safety rules to avoid damage or injury.
Reinstalling Your E-bike Battery Correctly
Reinstalling your ebike battery right is key for safety and performance. Make sure it fits perfectly with its mounting. This avoids damage and ensures your ebike works well.
Checking connections is also important. All should be tight and not damaged. A bit of lubricant on moving parts helps too. This keeps your ebike running smoothly.
Post-Installation Checks
After putting the battery back, do some checks. Check the battery’s charge, look for damage, and test electrical parts. This makes sure your ebike is ready to go.
- Battery charge level
- Signs of damage or wear
- Electrical component function
By following these steps, you ensure a safe and successful battery reinstallation.
Troubleshooting Battery Issues
For ebikerangking, a good battery is key for a smooth ride. But, problems can happen. It’s important to troubleshoot to find and fix the issue. First, check the basics like making sure the battery is connected right and the charger works.
If the problem doesn’t go away, you might need to dig deeper. A common problem is a battery that won’t charge or drains fast. Check the battery’s charge level, look for damage, or read the user manual. Sometimes, you might need a pro’s help.
Here are some important things to remember when you’re troubleshooting:
- Check the battery’s connections and charger
- Look for any damage on the battery
- Read the user manual for help
By following these tips and keeping up with maintenance, your battery will stay in good shape. This ensures your ride stays smooth.
Regular maintenance and troubleshooting can make your ebikerangking battery last longer. Being proactive and informed helps you have a safe and fun ride.
Conclusion: Mastering E-bike Battery Management
As an e-bike owner, learning how to remove the battery is key. It ensures your bike works well, lasts long, and is safe. We’ve covered everything from battery types to how to take it out and put it back in.
Now you can handle your e-bike’s battery with ease. This includes regular checks, replacing it, or fixing problems. Remember, it’s not just about taking the battery out. It’s also about knowing your bike’s battery, staying safe, and solving any issues.
Learning these skills will make your e-bike’s battery last longer. It will also make riding safer and more fun. Use what you’ve learned and keep up with new battery tech and care tips.
FAQ
How do I remove the battery from my e-bike?
To remove the battery from your e-bike, follow these steps:
- Ensure your e-bike is turned off and the battery is not charging.
- Locate the battery and its mounting mechanism, which may involve removing screws, bolts, or clips.
- Gently pull the battery out of its mounting, taking care not to damage any wires or connectors.
- If your battery is integrated into the frame, you may need to remove additional components to access it.
What safety precautions should I take when removing my e-bike battery?
Before removing your e-bike battery, it’s essential to take the following safety precautions:
- Wear protective gear, such as gloves and safety glasses, to prevent injury.
- Ensure your e-bike is turned off and the battery is not charging.
- Work in a well-ventilated area and have a fire extinguisher nearby.
What tools and materials do I need to remove my e-bike battery?
The basic tools needed to remove your e-bike battery include:
- Allen wrenches
- Screwdrivers
- Pliers
Optional equipment, such as a work stand, can also make the process easier. Protective gear like gloves and safety glasses should also be worn.
What are some common challenges I might face when removing my e-bike battery?
Some common challenges you may face include:
- Stuck or jammed batteries, which can be resolved by applying a small amount of lubricant or gently tapping the battery loose.
- Weather-related issues, such as extreme temperatures or moisture, which can be mitigated by working in a dry, well-ventilated area and using protective coatings on electrical components.
- Connection problems, such as corroded or damaged connectors, which can be fixed by cleaning or replacing the affected parts.
How should I store and maintain my e-bike battery?
To properly store and maintain your e-bike battery:
- Store the battery in a cool, dry place away from direct sunlight and moisture.
- Avoid fully discharging the battery, and store it with a partial charge.
- Regularly check the battery for signs of wear, clean the terminals, and ensure all connections are secure.
How do I correctly reinstall my e-bike battery?
When reinstalling your e-bike battery, follow these steps:
- Ensure the battery is properly aligned with the mounting mechanism.
- Verify that all connections are secure and not damaged.
- Apply a small amount of lubricant to moving parts, if necessary.
- Perform post-installation checks, such as testing the battery’s charge level and checking for any signs of damage or wear.
What are some common troubleshooting tips for e-bike battery issues?
Some common troubleshooting tips for e-bike battery issues include:
- Ensure the battery is properly connected and the charger is functioning.
- Check the battery’s state of charge and inspect for any signs of damage.
- Consult the user manual or seek professional assistance if the issue persists.


